This month I have another case study, again courtesy of Andrew Titmuss, of Posh Stone Floors
Andrew took on a grout re-colouring job where the client has an existing white glazed tile with a dark grey grout. The client feared that it was not possible and was contemplating the horrors of raking out the grout to re-do with a white.
As most Tilers know, raking out grout can be a nightmare job, consider the following:
- It takes ages – there is no fast way, by hand takes forever, using a grinder is just too dangerous. There are special oscillating machines that make it easier, but not easy
- It is hard work
- It is not always possible to get every bit of old grout out – invariably there will be some grout left on the tile edges, and this can show through the new grout
- It is messy – it creates lots of dust
- It usually results in damage some of the tiles – almost always a few tiles are scratched or chipped in the process – this makes a great deal more work if spare tiles are available, but often there are no spare tiles and quite often they are no longer available to buy.
So a grout recolouring product can be a real problem solver, refreshing the look , making it like new again, giving a uniform and consistent colour and best of all, sealing the grout at the same time.
However there can be challenges and going from a dark grey to a white, is one such challenge. The way around this is to apply two coats, letting the first coat dry before applying the second.
The results speak for themselves though, fresh, clean looking grout joints that are also sealed, oh, and one delighted customer.
Thanks for the photos Posh Stone Floors
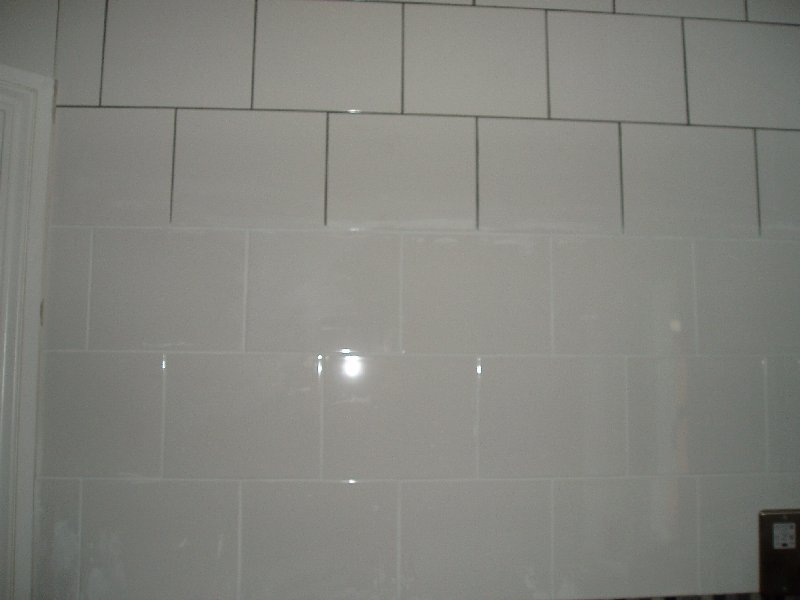
Grey ‘before’ & white ‘after
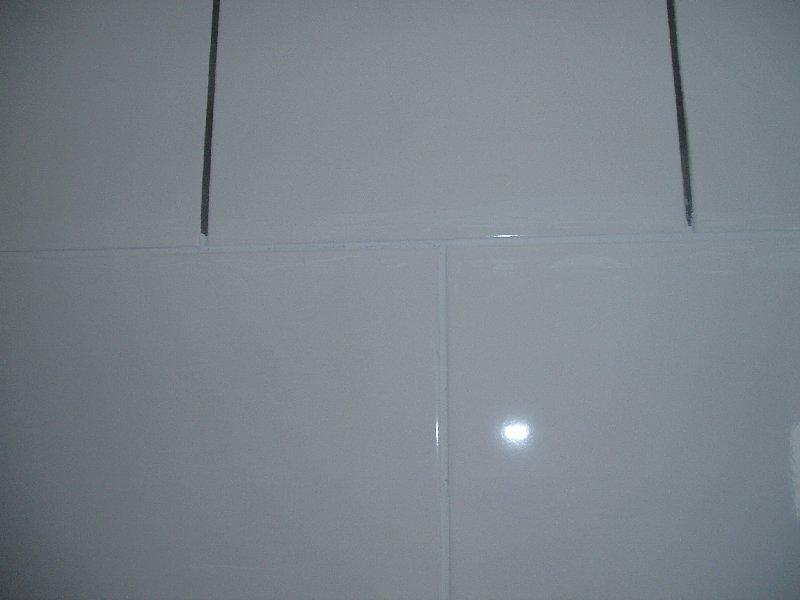
Close Up
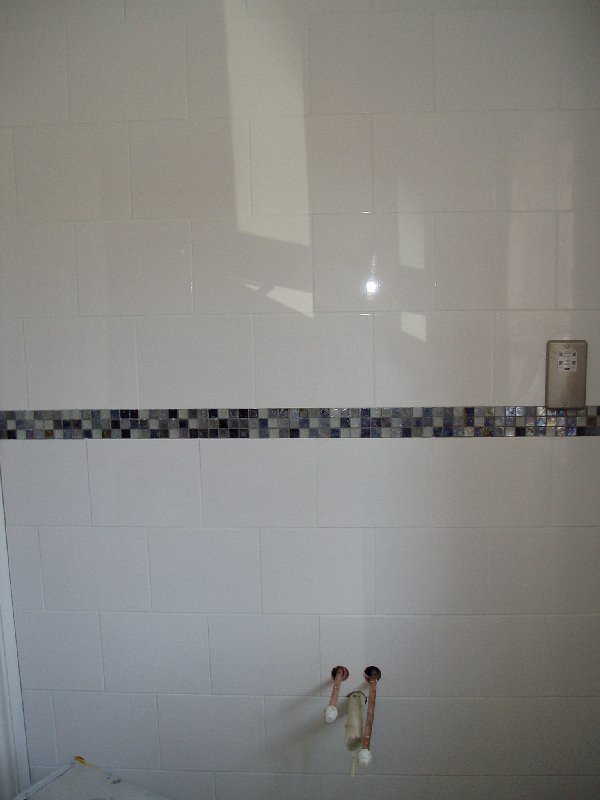
Finished job
Copyright Ian Taylor and The Tile and Stone Blog.co.uk, 2013. See copyright notice above.

Reader’s Comments